Simple 3D Metasequoia Model Viewer
May 16, 2010
Need of the third dimension:
We all have seen animation in form of 2D image frames. So if the final output is in form of 2D image, how can 3D models help us save animation production time ? The answer is simple. Consider an animation of a rotating cup. We would have to actually draw all the picture frames making the animation. What if we have to change the angle of rotation? We will have to draw again all the frames for the new angle. What if we want to implement/change light effects for the animation ? We will again have to draw all the picture frames. Until the final animation is selected, a lot of changes in terms of color, material, light, object movements are considered. It is an very tedious work an animator has to to.
Now enter the third dimension. We create the model of cup in 3D. Because it is in 3D, we have all the necessary information of the cup. For example: shape, size, color, material, etc., just like a cup in real physical world. This facilitates viewing the cup from any 3D location, and rendered accurately by software. Because we don’t have to “physically” draw every frame in the animation, production time reduces drastically and any change can be implemented in real-time to achieve the desired effect. So just create a 3D model, add material to the object, add light to the scene, transform the object/scene if necessary to a desired view and you are ready to render your image frame !!
To create 3D models, you will require 3D modeler software. Almost all of them come with their own renderers. You can search on-line for freeware as well as commercial packages. One of the simple but very good 3D modeler is “Metasequoia”. It is really easy to create 3D models and can be easily modified with the built-in lots of tools. Animation support is not yet implemented. You can try the demo / freeware learning edition of the program from the site: http://www.metaseq.net
A custom 3D model viewer.
You may wonder, if we already have the relevant 3D software capable to create, modify, animate and render the 3D objects in a scene, why should we write our own 3D model viewer ? There are lot of benefits for a programmer. To just name a few :
1) To write new type of renderer.
2) To write new 3D model file formats.
3) To write new 3D model deformation method.
4) To write new animation effect.
5) Or to just learn and understand 3D programming.
I needed my own 3D model viewer, because I wanted to test my “cartoon renderer”. For this I needed the model to be imported into my program. I was looking for a simple 3D object oriented file format as well as an application to create models in a desired format. My search ended with Metasequoia Learning Edition. The file format is simple and available in plain text format. So it was easy to write an importer module for parsing the 3D data and loading it into my program.
Below is the output of a 3D model processed with my cartoon renderer.
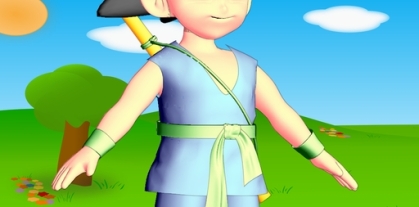
For importing 3D models made in Metasequoia, we have to study the file format which consists of scene data like view orientation and object data like number of vertices, number of polygons, material information and most important, vertex location data, polygon data i.e., index of vertices which define the polygons.
For coding a simple 3D model viewer foe Metasequoia models which have a “.mqo” extension for its 3D files, following points are to be considered:
1) File format of 3D MQO models.
2) Parsing the file.
3) Storing the 3D data.
4) Rendering the model.
Now that you have got the basic knowledge of making you own 3D model viewer, try out your software/hardware shaders, file format converters, other file format support like “OBJ” and “3DS”, new animation transforming techniques, model deforming methods, etc., etc. The possibilities are large enough to open new frontiers in the 3D world.
Welcome to the third dimension.
The source code for the application is available at:
Source Code : Simple 3D Metasequoia Model Viewer
Kids Coloring Application
May 11, 2010
| Mouse handling is one of the crucial part to acquire computer related knowledge. Usually for kids, it starts with some mouse-driven drawing application. Children draw arbitrary lines trying to control the movements of mouse-pointer and clicking of the mouse buttons. It is important to notice that accurate positioning and clicking is essential to draw even a simple line. I watched my 2 year old nephew drawing such arbitrary lines for almost
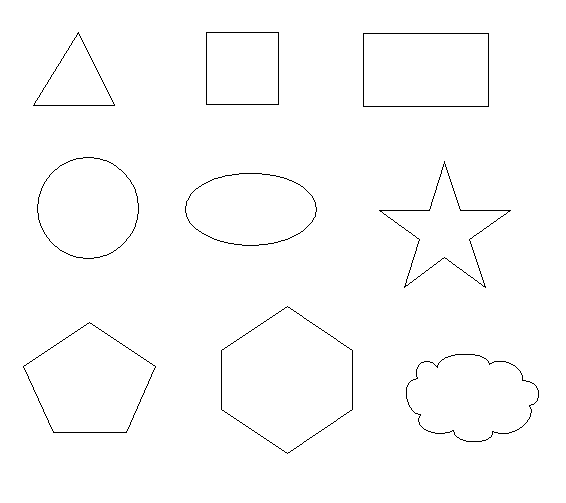
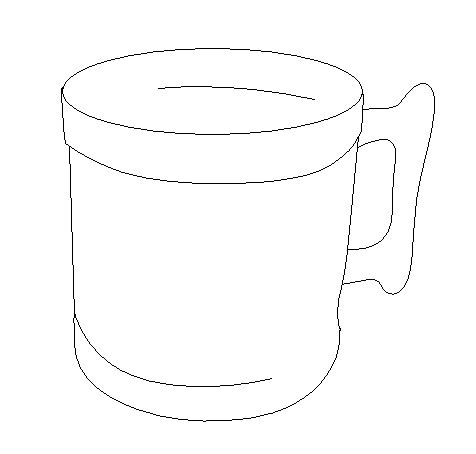
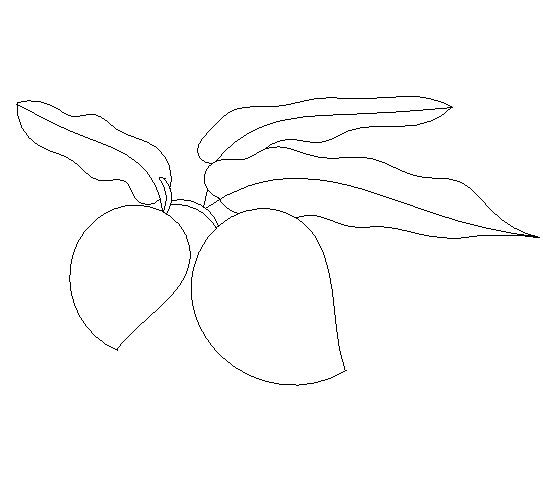
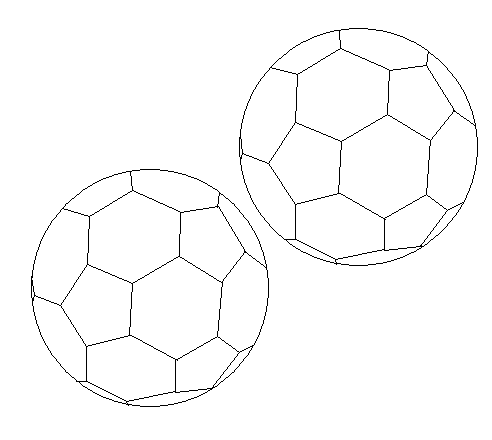
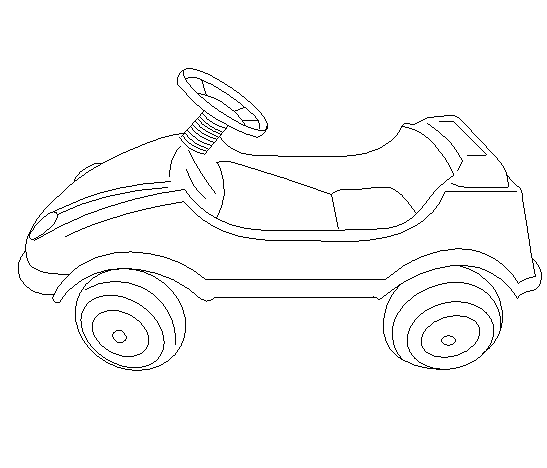
Below are a few coloring pages I created for the application. |
|
 |
 |
 |
 |
 |
 |
 |
 |
 |
 |
Illumination in 3D
September 30, 2009
| Light enables us to see the world. In-fact, light enables us to exist on earth. Without light, there would be a dark black world. What we see is an outcome of what is received at the eye in form of light. |